Intro
Motion effects can be customized in many ways. Pausing Captivate's timeline will also pause automatically any effect if it is not finished. This feature can be used to make boring slides more engaging. To see what I mean, have a look at this example file. It has three slides using that approach:
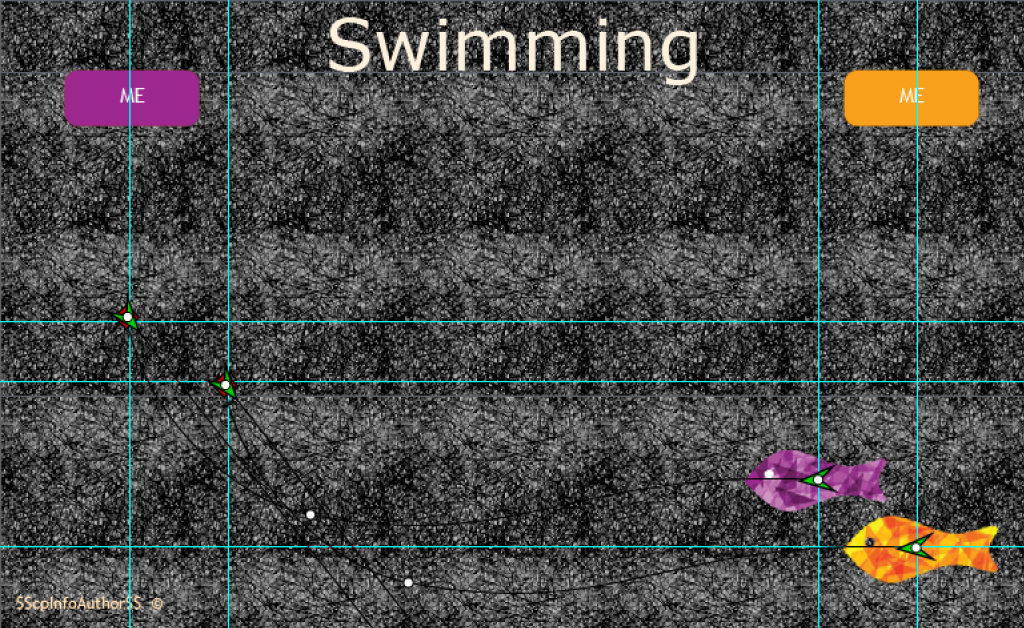
- Business Model: has a simple left to right motion path use on a cover shape to deploy an infographic sequentially.
- Career Steps: uses a custom polygon path to have an animated avatar and discovering states in a multistate object
- Captivate Hurdles: has a custom curved path, and uses also multistate objects.
You can watch the example file full screen by clicking this link.
Or have a look at this embedded example:
Workflow
Steps
Each of these three steps will be explained in detail below:
- Create the motion path, and edit its duration taking into account the number of wanted fractions.
- Create the button and its advanced action, which will have two decisions:
- Decision 1 will manage the motion and pausing, and a tracking variable if you want a second decision to be done when all parts have been deployed. This decision is non-conditional
- Decision 2 will be done when the path has ended and is conditional
- Test the interaction, it will probable need tweaking the path length and fraction times. Moreover if you allow to revisit the slide, you may need an On Enter action to reset the situation.
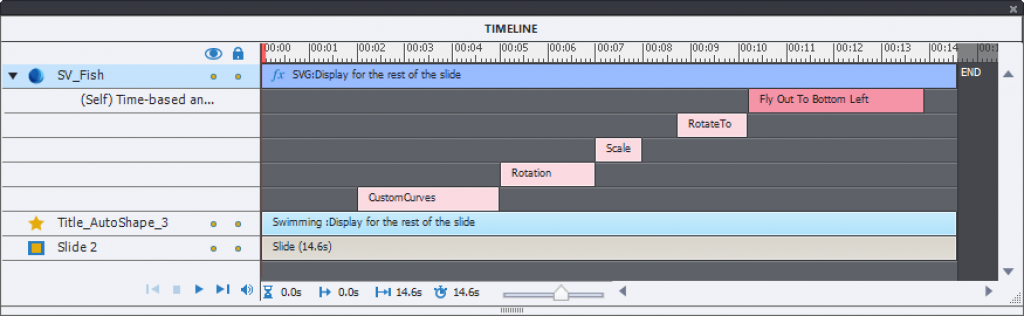
The detailed explanation will be done using the first example ‘Business Model’ . Explore its timeline:

Slide background is a a shape filled with a gradient. That shape was duplicated to be a cover, which is stacked on top of the Infographic (with the images) and the Next button. Motion effect will be attached to that cover shape. On top of the cover you’ll see the Play button (no pausing point), title and instruction text. The Next button has a pausing point which needs to be after the end of the motion effect.
Step 1: Motion path
The effect applied to the cover is a simple Left-to-Right motion path. It has no easing because easing would be applied to the start and/on end of the complete path, but you’ll use it in fractions. This linear path will be cut in 6 parts. I used a vertical guides grid to visualize the 6 fractions, and make sure that each guide is in between two images. Have a look at this screenshot, showing the guides and their setup (using View, Create Multiple Guides):

Motion path is visible on the stage with end and start points. Those points are always connected to the center of the bounding box of the shape. The start point is at 1024/2px = 512px because the project width is 1024px. You need to extend the length of the path by moving the end point horizontally (keep SHIFT key pressed) to the X coordinate 512+1024px = 1536px. For that reason I added another vertical guide at 1536px. Turning the snap on for the guides helps to position the end point. See screenshot:

For the duration of the Effect, start from the time to use for each fraction. I found that using a time between 1 and 2 seconds is fine. As you can see in the timeline screenshot above, for this slide a duration of 1.5secs was chosen, leading to the Effect duration of 9secs. If you look closer to the Timeline, you’ll see that the effect duration is slightly shorter, because of step 3: tweaking.
Step 2: Action for Play button
Basic setup
At first sight the needed advanced action for the Play button seems to be rather simple.:
- Pause the slide On Enter.
- For the Play button use this sequence:
- Continue to release the playhead, the motion effect will start
- Delay Next Actions by 1.5 secs for the Business model slide 1.5seconds is 9secs/6
- Pause to pause the motion effect waiting for the next step (see guides in the first screenshot )
- The Next button will be uncovered in the last step.
However, there is no way to prevent the learner to click the Play button after the motion effect ended, and the Continue command would then override the pausing point of the Next button, which you probably want to avoid. To prevent this you need a way to track the end of the motion path. Using a variable v_counter for tracking is an easy way. Although you could use one conditional decision, I like to separate the advanced action in two decisions. Have a look at this screenshot of the basic PlayMotion action:

Supposed here is a starting value of 0 for the variable v_counter. When all 6 parts have been ‘discovered’ the Play button will be hidden. It could be possible to replace that Hide action by a pure Pause action, but it would lead to frustrated learners.
If you try out this basic action for the Business Model slide, you’ll have a flickering problem. That has been a pain since many versions. In the Tweaking section of this blog, I will show you how to solve this. Moreover in the video displayed in the previous post, you’ll see that the first part of the effect is deployed immediately. There is also need for an On Enter action on all the slides, to reset everything in the original situation including the value of the counter variable.
Extended Setup
This simple slide didn’t need to have another action to be done besides part of the motion effect. That is not the case for the Steps nor the Hurdles slides. The extra actions need to be inserted before the Delay command in the Always decision. Look at the versions for the Hurdles slide. Multistate objects were used to show explanations. There are 4 parts. At the end the Play button (is in a group with a Tooltip) needs to be hidden, and the group of extra buttons made visible:

Step 3: Tweaking
Timing
When testing the project with F11, Preview HTML in Browser, you'll see that the timing is not perfect: motion effect. There are two ways to tweak this timing, and often both are needed:
- Decrease the total time of the motion effect (Timeline panel or Timing Properties). That will speed up the motion, more will be shown with each part. If you look at the first screenshot, Timeline panel for the Business Model slide, you see that the duration of the effect is now 8.9secs instead of the original 9secs. For the Steps slide, I reduced the original 10secs (5steps of 2sec) to 9.7secs, for the Hurdles slide 5secs was reduced to 4.8secs
- Decrease the Delay time in the advanced action for the Play buttons. You could see in the Hurdles action the change to 1.8secs.
On Enter action
You’ll need such an action to reset the situation if the learner is allowed to revisit the slide, and also to be able to reuse the unique variable v_counter. Whenever possible, avoid to create multiple variables if you can reuse the same variable. Here is a simple On Enter action for the Steps slide:

As promised, here is the On Enter action for the Business Model slide, which is more complicated because it solves the flicker issue, and will show the first part of the image (Hence the Assign to 1 command for the counter variable):

To avoid the flickering of the InfoGraphic image, it is hidden to start with and shown after 0.3secs. I also added a Fade in Transition The starting value of the variable is now 1 instead of 0. To deploy the first part of the infographics you’ll see the same actions as in the Play button action. The total delay for this first part is 1.6secs.
More?
It would be wonderful to hear how the described workflow could inspire you for your projects..
Creating custom paths - curved or polygonal - comes with some issues:
- For polygons: you cannot create horizontal nor vertical parts for an obscure reason. I have logged this bug multiple times.
- For curves: realizing cusp points is normally not possible...
If you want to learn how to overcome those issues, please let me know.