Why this use case?
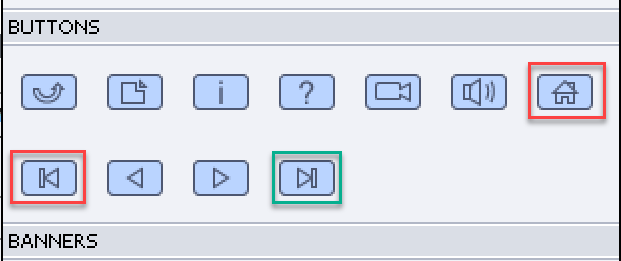
- The navigation in the course is not accomplished by a default playbar but by custom navigation buttons. To make it simple, I will use only three buttons in my example: SB_Next, SB_Back and SB_Home.
- On some slides the navigation buttons have to be hidden, maybe because dedicated buttons will appear at the end of the slide, thus forcing viewing the slide.
- Because of that request, it is not possible to have the shape buttons on the master slide because they wouldn’t have an ID, which means you cannot control their visibility.
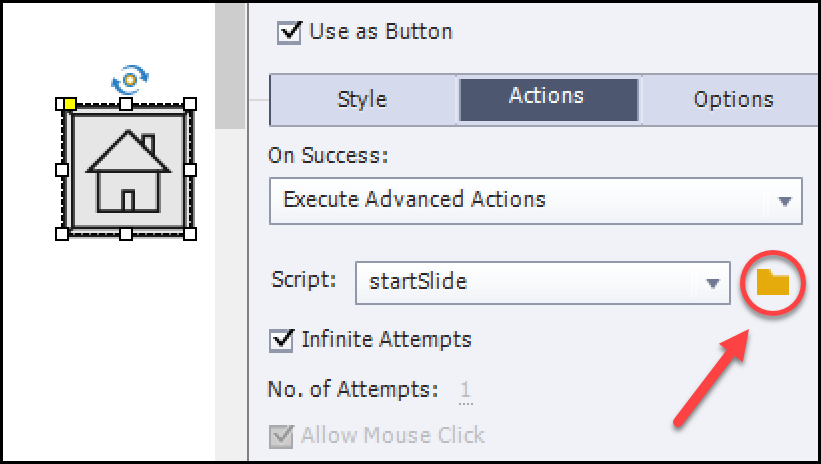
- The Shape buttons have to be on the first slide, Timed for the rest of the project, always on top. This is only possible with shape buttons not with the three old types of buttons. Beware: if you use a responsive project developed with Fluid Boxes, objects timed for the rest of the project are not allowed.
One Advanced Action? Possible but tricky
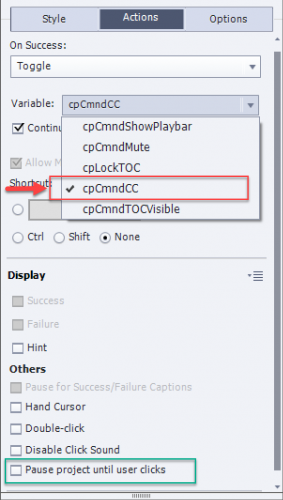
The user proposed a solution where the value of the system variable cpInfoCurrentSlide was checked, and based on that number the buttons would be hidden or shown. One great advantage of this system variable: the index starts with 1, which is exceptional because all the other incrementing system variables start with 0. Hence the Expression needed to restart a slide from its first frame (index of cpCmndGotoSldie starts with 0):
Expression cpCmndGotoSlide = cpInfoCurrentSlide – 1
To make the use case specific: if I have 50 slides, and I want to hide the buttons on slides 5, 10, 15, 20, 25, 30, 35, 40 and 45 that could be done with one Advanced action like this:
IF cpInfoCurrentSlide is equal to 5 OR
cpInfoCurrentSlide is equal to 10 OR
cpInfoCurrentSlide is equal to 15 OR
cpInfoCurrentSlide is equal to 20 OR
cpInfoCurrentSlide is equal to 25 OR
cpInfoCurrentSlide is equal to 30 OR
cpInfoCurrentSlide is equal to 35 OR
cpInfoCurrentSlide is equal to 40 OR
cpInfoCurrentSlide is equal to 45
Hide Gr_Buttons
Continue
ELSE
Show Gr_Buttons
Continue
You see that I grouped the three buttons in Gr_Buttons, contrary to the user who had several Hide commands.
Whiy is this tricky? First of all, if you change the sequence of slides, add or delete slides, you’ll have to check the advanced action and change the literals (slide numbers). Moreover this long condition has to be attached On Enter for each slide, has to be evaluated on each slide, I don’t like that type of long conditions. If you need to use this action for another course, you have to edit the condition, take into account the number of slides where you have to hide, and the exact slide numbers. Copying an advanced action from one course to another course is always a pain if the action is attached to a slide event, which is the case here .
Shared action
I have already blogged a lot about the advantages of shared actions. The action I designed for this use case, may seem bit complicated but it needed a lot of testing and understanding of the use of parameters which are literals. You can have a look at this published file. There is no content on the slides, I just indicated in the title if the buttons had to be visible or invisible. The used master slides is different as well. Reason: when you hide all buttons, there is no pausing point on the slide anymore. That is the reason why I added a transparent shape button covering the slide, and the mention ‘Click the slide to go to the next slide. A shape with two variables is inserted to follow the changes
I used three variables in this action:- v_show: has a default value of 1, because in the default setting the buttons are visible. This value is the only non-compulsory parameter, can be changed to 0 if the buttons have to be hidden.
- v_visib: one of my popular variables which I import with a shared action as described in my recent post.
- v_null: because I had to avoid double use of the literal 0, I used this variable with a default value of 0, it is also described in the same post.
The only variable that will be changed is the first one, you don’t have to bother about the other two variables.
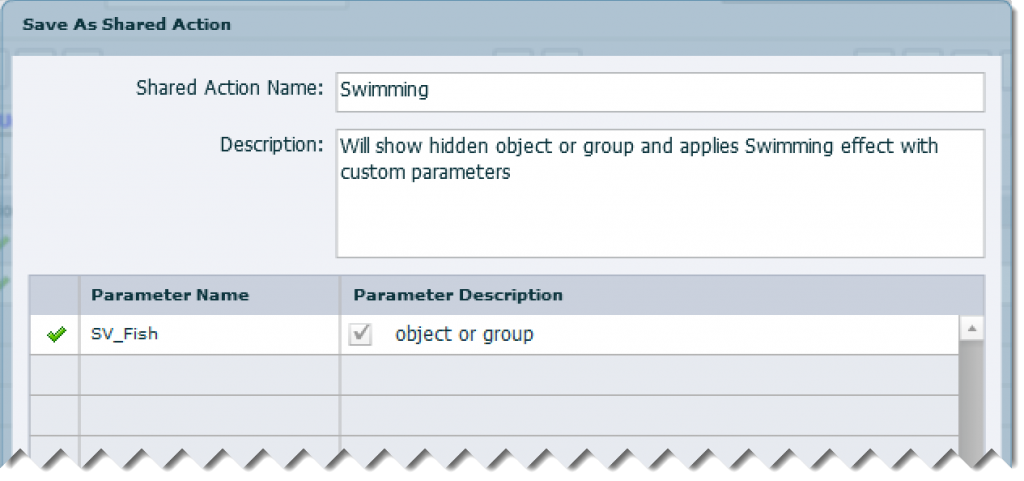
The Shared Action, filled in with the two parameters looks in the Preview window as follows:

You have to add this shared action On Enter for each slide. This cannot be done for all slides at once. I’m sorry, but you always have to define the Button group as parameter, my request to be able to promote a non-variable/literal to the status of being always the same is not yet heard. The other parameter (value of v_show) has to be 0 for the slides where the buttons have to be hidden, and 1 for those where you want them visible. Here is an example for a slide where they have to be invisible.

In the Library you can check the usage of the action, 10 instances were used:

Extra
As a gift for 2019 you can grab this shared action:
Import it into your course, the variables will be created automatically. You have to create only what you want to hide/show on the slides, group those objects and name them. Now you are ready to use that action On Enter for each slide. The group to be hidden/shown can have any objects, not only buttons. It is only necessary, that the group is displayed for the rest of the project.
Developing this shared action took a lot of exploring and testing because of two reasons:
- If you use a lot of literals you have to choose carefully which one can be come a parameter to avoid issues with the action. That is very important if the same literal is used in multiple decisions. It led to my choice of having an empty variable. This kind of problem never happens for advanced actions. You need a different mindset, but that is of course my personal opinion based on lot of testing since shared actions appeared years ago.
- Sequence is very important in any action, same as for advanced actions. Lot of consultancy jobs where I had to debug actions were due to ignoring this, combined with the typical behavior that you cannot break out of an advanced/shared action as is possible with programming languages.
I would like to explain this in depth, but not with a blog post. A webinar/training or live presentation is the only way to get this done. I expect this to remain a daydream…. very frustrating.